Creating Your First Chart
This is where the real power of Tonico.app lands in your hands: creating your own charts in minutes without having to generate separate documents, although if you truly need to, that is still possible.
Create your Tonico.app account
Start from the Sign In button on Tonico.app. Tonico lives in the browser, so you can move between devices and work across drafts, published charts, and collections without installing anything or fighting desktop sync.
Remember: your account is free, and it can stay that way forever if that is all you need. There is no limit on chart creation, edits, publications, or views.
You can use your Google account directly with Tonico.app, so you do not have to remember another password and your access is much faster. If you prefer, you can use any email address you want, but you will need to confirm it.
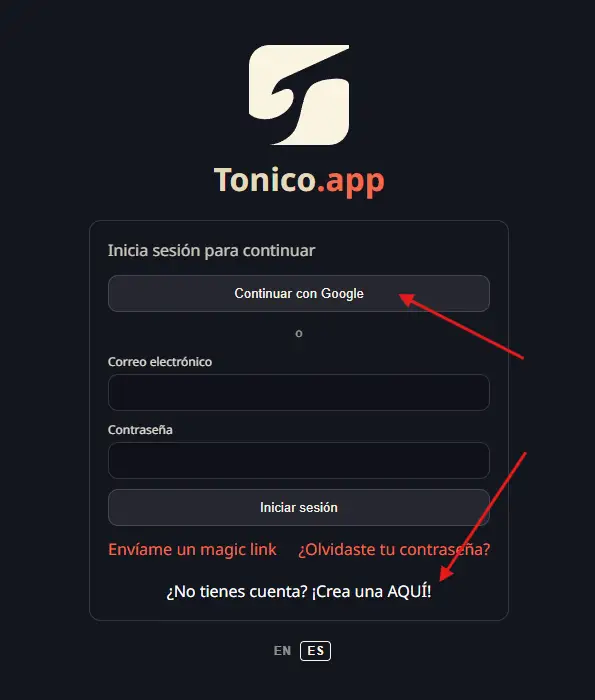
If you are creating your account for the first time, make sure you choose a username on the next screen that you are comfortable using in public. That identity follows your published charts, so it is worth getting it right from the start. Unlike your bio, which is optional, your username is permanent.
Create your first chart
Once you access your account, you will land on the Dashboard. This is where you manage your charts. Click the "+ Create New Chart" button to enter the Editor.
First, identify your chart correctly: title, artist, and version or album. These are key details that make it easier for both you and other users to find the right content later. You can type all of this manually, but...
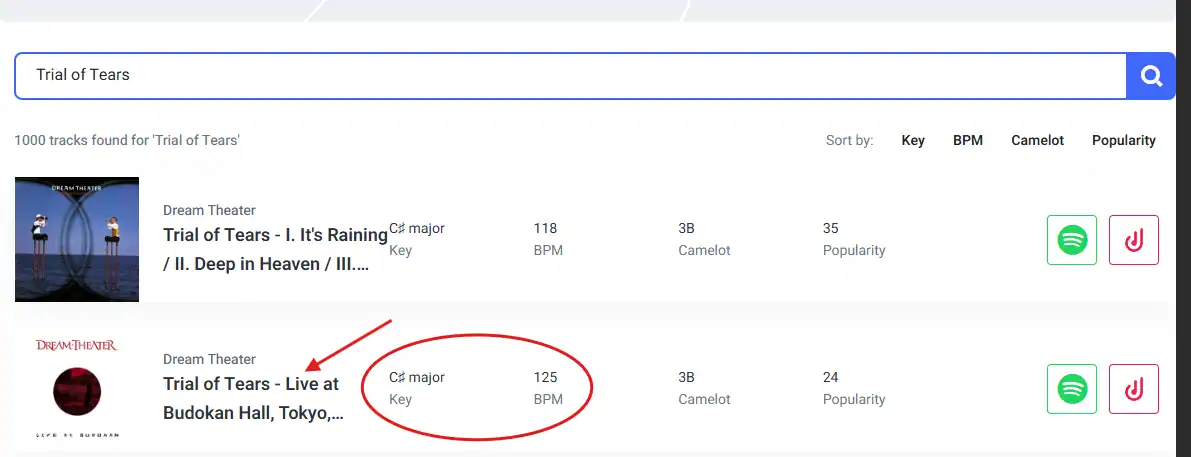
I recommend typing the title and artist partially. That gives the search enough information to offer suggestions you can choose from. This is especially useful when a song has many versions or covers.
If you already have the song link in Spotify, you can paste it into the search tool. That pulls in part of the information to speed things up, although Spotify is not always very friendly and may be less useful than expected.
When you select a suggestion, the core song information is filled in for you and an Apple Music link is added to the references. From there, you can also look up other reference links such as Spotify and YouTube if you have not added them yet.
Once you have the core information in place, you can add transcriber comments. This is where you can include tuning, capo use, instrumentation, or any other detail. It is also the right place to add the song's BPM, for example.
You can use the "Find BPM and Key" link, which opens Tunebat.com with the song name already filled into the search. Edit it if needed until you find the specific version that matches yours.
With that, the chart's core information is ready. You can collapse or expand this information block by clicking the gray "Chart Identity" bar.
Setting the starting key
Every chart you write begins with a starting key. That key gives the Chord Builder the context it needs to know which options are available to you. It is called the starting key because yes, you can change the key halfway through the song, or as many times as you want. But the starting key is still the reference point for the entire chart.
If you already know the song's starting key, or you got it from Tunebat.com through the suggested link in the transcriber notes, you can add it to the chart by clicking the "Select" button that appears below the song title. There you can choose the key note and the mode, major or minor, whenever that option is available. I only included real keys whose signatures can be written on a staff. For example, G# Major does not exist, but its enharmonic equivalent, Ab Major, does.
If a song is in a minor key but you want to use its relative major to define the key, I am not going to judge you ;) Write it in whichever way feels more comfortable to you.

Save your draft
The last step to get everything ready is, of course, saving for the first time. Click "Save" in the top bar on the right. Once you do, your draft is ready and you can move on to the actual chart content.
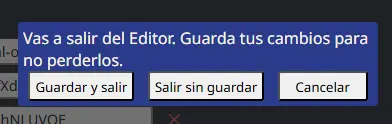
Whenever you click "Back to Dashboard" in the top bar, you will see a small pop-up:
- Save and exit: saves your changes, even if you just did it a second ago, and redirects you to the Dashboard.
- Discard and exit: discards every change made since the last save and then redirects you to the Dashboard.
- Cancel: stops the exit flow and leaves you in the Editor, without saving, so you can reconsider your options.